
In this guide
- Why wardrobes are the worst-lit space in a well-lit home
- Where the strip actually goes: rails, shelves and drawers
- The spec that matters: lumens, CRI and colour temperature
- Lighting the dressing mirror without shadows
- Door contacts, sensors and the night tier
- What to tell your carpenter before the carcass closes
- How Pert delivers it (designed, not DIY)
- FAQs
Wardrobe lighting sits in an awkward gap between three trades. The interior designer draws the wardrobe elevation, the carpenter builds it, and the electrician wires the room — and none of the three owns the 24V strip that is supposed to run inside it. So it gets added at the end, stuck to a laminate edge with double-sided tape, fed from a driver buried in the loft, and switched from a rocker nobody can find in the dark. This guide is part of our wider coverage of home automation in Hyderabad, and it covers the dimensions, specifications and control decisions that separate a wardrobe you can actually see into from one that merely glows.
Why wardrobes are the worst-lit space in a well-lit home
Three things work against you at once inside a wardrobe, and they compound.
The first is self-shadowing. You stand at the opening, so your own body blocks the room light behind you. Whatever reaches the clothes arrives past your shoulders and dies about 200mm into a 600mm-deep carcass. The second is absorption: a wardrobe is a small volume packed with dark, matte, light-eating fabric. A bedroom surface reflects perhaps 60–70% of the light that lands on it, while a rail of dark clothing reflects under 10%. The third is the colour task. Nowhere else in the house do you make a genuine colour judgement — is this black or navy, does this cream match that cream, is this actually the same blue as the one hanging next to it. That is a far harder visual job than reading a message on a sofa, and it demands better light, not just more of it.
Useful targets to design against: roughly 300 lux on the vertical face of hanging clothes, 150–200 lux ambient in a walk-in dressing area, and 300–500 lux vertically at the face at the mirror. Notice that all three are vertical measurements. Wardrobe lighting is about lighting surfaces that stand up, which is exactly why a ceiling downlight in the middle of the room — excellent for lighting the floor — contributes so little here.
Where the strip actually goes: rails, shelves and drawers
This is the section worth printing and handing to your carpenter. Most wardrobe lighting fails on placement rather than product.
Hanging rails: 30–50mm back from the shelf edge
Mount the strip on the underside of the shelf above the rail, set 30 to 50mm back from the front edge of that shelf, facing straight down so the light rakes down the front face of the garments. That setback is the whole trick. Push the strip to the back of the shelf and you brilliantly illuminate the back panel while the clothes hang in their own shadow. Bring it flush with the front edge and the diffuser sits in your direct line of sight the moment you open the shutter, so you get glare instead of visibility. At 30–50mm back, the profile is hidden behind the shelf lip from a standing eye line, and the light lands where the clothes actually are.
Plan the rail heights alongside it, because they set how many strips you need. A single-hang section for shirts and folded trousers needs about 1,000–1,100mm of clear height; a long-hang section for sarees, gowns and full-length coats needs 1,500–1,700mm; a double-hang section stacks two rails at roughly 1,000mm each. Every rail gets its own strip. A single strip at the top of a two-metre-tall section will not usefully light the lower rail — the upper rail of clothes is an opaque ceiling.
Open shelving: one strip per shelf, under the front lip
Same detail, repeated. For folded stacks, shelves are usually spaced 300–350mm apart, and a strip under the front lip of each shelf lights the stack below it evenly. Skipping alternate shelves to save cost is a false economy: the unlit shelf reads as a dark band and, because it sits at chest height in the middle of the run, it is usually the one you use most.
Drawers: only where it earns its place
Do not light every drawer. Light the two or three that hold small, dark, similar objects — jewellery, watches, ties, cufflinks — where a micro strip along the inside front edge plus a drawer contact switch genuinely changes the experience. A drawer of folded t-shirts does not need lighting; it needs the shelf strip above it to be positioned correctly.
Walk-in closets: light the walls, not the ceiling
In a walk-in, the temptation is a neat row of downlights along the centre of the ceiling. That lights the floor of the corridor and leaves both walls of clothing in shadow — the same self-shadowing problem, at room scale. Light the vertical planes instead: strips inside every rail and shelf run as above, plus a perimeter cove or a pair of wall-washing lines set 250–350mm out from the carcass face to lift the whole volume. Keep a small amount of ceiling light for circulation, but treat it as the smallest layer, not the main one. The layering logic is the same one we set out in how to plan living and dining room lighting layers, and the perimeter detail follows how to plan cove lighting in a false ceiling.
The spec that matters: lumens, CRI and colour temperature
Once placement is fixed, the strip specification decides whether the light is useful or merely present.
- Output: 300–450 lm/m inside a wardrobe. This is deliberately much lower than the 700–1,200 lm/m you would use in a living-room cove, and the reason is distance. A cove throws light across a room; a wardrobe strip sits 300–600mm from the thing it is lighting, and the inverse-square law does the rest. Over-specify here and you get a glaring white box that hurts at 6am. For the open runs of a larger walk-in, 400–600 lm/m is a reasonable upper bound.
- CRI 95, with R9 above 50. If you take one number from this article, take this one. CRI 80 strips — still the default on most sites — render reds and deep tones so poorly that navy and black become genuinely indistinguishable and skin looks grey in the mirror. R9 is the specific red-rendering figure that cheap datasheets quietly omit; ask for it explicitly. We cover what these numbers mean and how to read a datasheet in LED light specs explained: lumens, CRI and efficacy.
- Colour temperature: tunable 2700K–4000K, or 3000K fixed. Around 4000K in the morning is honest light for matching colours; 2700K–3000K at night keeps the wardrobe from firing daylight into a dark bedroom. If you fix one value, 3000K is the least-compromised choice. The reasoning is in our colour temperature (CCT) guide for home lighting and in tunable and dimmable lights.
- Consistency: 3-step SDCM, one batch per home. Wardrobe, dressing mirror and bedroom must agree. If the mirror is 3500K and the wardrobe is 3000K, a shirt visibly changes colour in the two metres between them and you will never quite trust either.
- Aluminium profile with a frosted diffuser — always. Bare tape stuck to a laminate edge is the most common wardrobe-lighting failure we are called to fix. The profile is a heatsink, which is what keeps the colour stable past year three, and in a Hyderabad summer the adhesive on bare tape inside a closed carcass gives up and the strip peels away in loops.
- Keep the load modest inside an enclosed carcass: 9.6W/m or less. A wardrobe is a sealed box with no air movement. High-wattage strips in that environment run hot, shift colour, and shorten their own life.
- 24V, not 12V, for anything over about 3m. A 3.6m wardrobe run on 12V loses noticeable brightness towards the far end. 24V halves the current and the voltage drop with it.
To size the power: a typical 3.6m three-door wardrobe with two hanging rails and four shelves runs to roughly 12–18m of strip. At 6–8W/m that is 75–140W, which should be split across two drivers rather than pushed through one. Load grouping and dimmer channel planning are covered in how to plan dimmer channels and lighting loads.
Lighting the dressing mirror without shadows
The mirror is where wardrobe lighting either pays off or quietly fails, and the geometry is unforgiving.
A downlight in the ceiling above a mirror is the standard site solution and the worst one. Light arriving from directly overhead casts your brow ridge across your eyes, your nose across your mouth and your chin across your neck — the effect people describe as looking tired in their own mirror. The fix is to light the face vertically, from both sides.
- Two diffused vertical strips flanking the mirror, running roughly 900mm to 1,800mm above finished floor level, with the useful middle of that range sitting at about 1.6m — standing eye height for most adults. Both sides matter: a single side strip simply moves the shadow rather than removing it.
- 300–500 lux measured vertically at the face, at CRI 95. Below about 300 lux you cannot reliably assess makeup, a shave, or whether a colour works.
- Dimmable, and on the same tunable channel as the wardrobe, so the face you see at the mirror matches the clothes you just picked.
- Treat a backlit halo as ambience, not task light. A perimeter-lit mirror is genuinely lovely and throws almost all of its output at the wall behind the glass. Keep it, and add real vertical light beside it.
One more consideration that is easy to miss: the light you dress in should reasonably resemble the light you will be seen in. If you leave for an office at 9am, a mirror running at 2700K flatters you into choices that look different in daylight. This is a large part of why we specify tunable rather than fixed in dressing areas. The parallel logic for bathrooms — where the same shadow problem appears over a vanity — is in how to plan bathroom and mirror lighting.
Door contacts, sensors and the night tier
A wardrobe light you have to reach for is a wardrobe light that stays off. This is the part of the design where automation is not a luxury layer — it is the only thing that makes the lighting get used at all.
Shutters: a concealed magnetic door contact per door
A small recessed reed contact in the carcass frame triggers that section as the shutter opens. Tune the fades: about 0.3 seconds up so it feels instant, and 1.5–2 seconds down so closing the door does not snap the room to black. Include a safety cut-off so a section physically cannot be left burning inside a closed wardrobe — a contact that sticks should fail off, not on.
Walk-ins: occupancy sensing with a sensible timeout
A walk-in wants presence detection at the entry, with a two to three minute timeout. Shorter and it drops you into darkness mid-decision; longer and it defeats the purpose. Mount the sensor where it sees someone entering rather than in the geometric centre of the ceiling, and keep it away from being triggered by movement in the adjacent bedroom. The same sensor-placement discipline applies in circulation spaces — see how to plan staircase and corridor lighting with motion sensors.
The night tier
Nobody wants 4000K at 400 lux at 2am. A dressing area should have a low tier that engages after the house is in Good Night mode: 10–15% output at 2200K–2700K, enough to find a dressing gown without waking your partner or resetting your own eyes. This single behaviour is the one clients mention most often afterwards, and it costs nothing beyond configuring it properly.
Scenes and the keypad
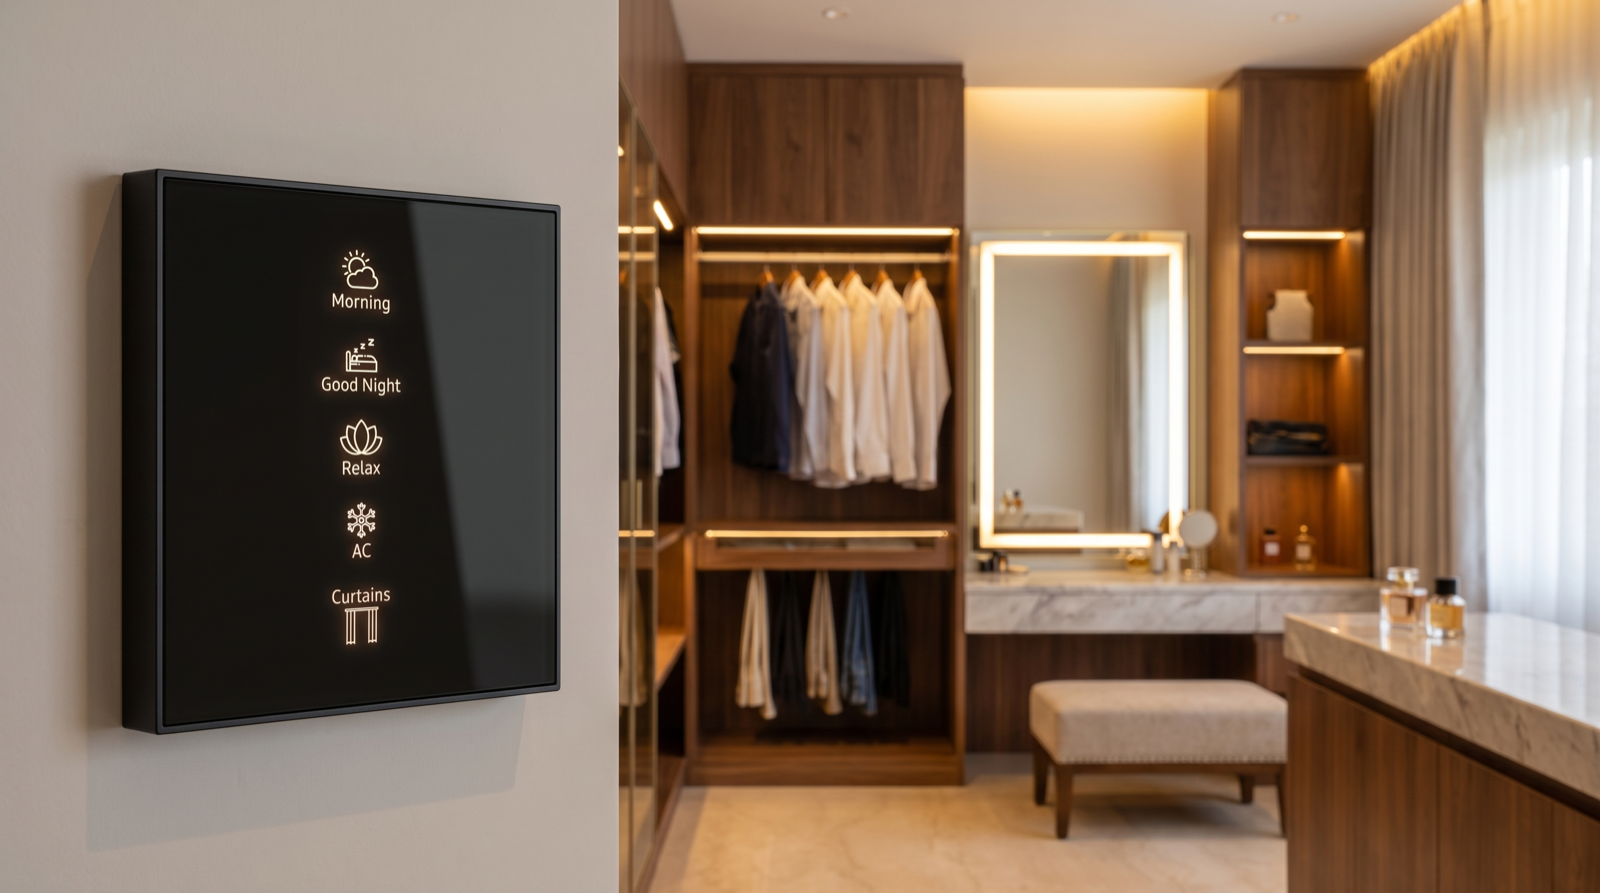
Wired into a scene system, the dressing area stops being a set of circuits and becomes three or four intentions on a wall keypad beside the door:
- Dressing — wardrobe strips 100% at 4000K, mirror 100%, cove at 60%.
- Evening — wardrobe 70% at 3000K, mirror 60%, cove warm.
- Night — 12% at 2200K, mirror off.
- Good Night — everything off, motorised curtains closed, security armed.
Getting the button count, order and engraving right on that keypad matters more than people expect — see how to plan keypad layouts and engraving, and how to design home automation scenes for worked examples across a whole home. All of this runs on dimmable, tunable smart lighting, which is what allows one set of fixtures to do the 6am job and the 2am job.
What to tell your carpenter before the carcass closes
Almost every retrofit headache in wardrobe lighting comes from four things not being asked for at carpentry stage. Put these on the drawing:
- A 30–40mm service groove routed behind the back panel and up each vertical partition, so low-voltage cable reaches every shelf and rail without being surface-run across a visible face.
- A rebate for the aluminium profile in the underside of each shelf, at the 30–50mm setback. Recessing the profile keeps the diffuser flush and stops it from being visible as a bolted-on afterthought.
- An accessible driver location. Drivers fail long before strips do. Put them above the wardrobe loft behind a removable panel, or in a service niche — never sealed permanently inside joinery. Size them with about 20% headroom over the connected load.
- A 5A power point behind the carcass at the driver location, plus a control cable back to the automation panel so each wardrobe section is its own addressable, dimmable circuit rather than being ganged onto the bedroom light.
- Contact-switch cable to each shutter frame, run before the carcass is assembled. Adding it afterwards means opening finished joinery.
All five are drawing-stage decisions that cost nothing to specify and a great deal to add later — the general point we make in when to plan home automation during construction in Hyderabad and, for the whole home, in how to plan smart lighting for a new home.
How Pert delivers it — a designed solution, not a DIY kit
Pert is a solutions company: we design and install, we do not hand over a box of parts. On a wardrobe and dressing-area project that means a site visit to measure carcass depths, rail heights and mirror positions; a lighting layout that marks strip runs, setbacks, profile rebates, driver locations and contact-switch routes on the same drawing your carpenter and electrician work from; coordination with your interior designer before the joinery is assembled; professional installation and commissioning of the strips, sensors, contacts and keypads; and then scene tuning done in the finished room, at night as well as in the morning — because a wardrobe level that reads correctly on paper is rarely the level you want at 6am.
If you are comparing providers on this kind of detail rather than on headline price, our guide to the best home automation companies in Hyderabad covers what to check before you sign.
Planning wardrobes or a walk-in closet in Hyderabad? Get the strip setbacks, profile rebates, driver access and door contacts onto the drawing before your carpenter assembles the carcass — it costs nothing to change now and means opening finished joinery later. Request a consultation →
Frequently asked questions
Where exactly should the LED strip go inside a wardrobe?
On the underside of the shelf above each hanging rail, set 30–50mm back from the shelf's front edge, aimed straight down the front face of the clothes. Too far back and you light the rear panel while the garments shadow themselves; flush with the front edge and the diffuser glares straight into your eyes. Repeat the same detail under the front lip of every open shelf.
What CRI and colour temperature should wardrobe lighting be?
CRI 90 is the floor, CRI 95 with R9 above 50 is what you want — a wardrobe is where you judge colour, not just see by light. Use tunable 2700K–4000K if you can, or 3000K fixed if you cannot, and make sure the wardrobe, mirror and bedroom share the same colour temperature and batch so a shirt does not change colour as you walk between them.
How do you light a dressing mirror without shadows on the face?
Vertically, from both sides. Two diffused strips flanking the mirror from roughly 900mm to 1,800mm above the floor, centred near eye height at about 1.6m, delivering 300–500 lux at the face at CRI 95, dimmable. A ceiling downlight above the mirror creates under-eye and under-chin shadows; a backlit halo is ambience rather than task light.
Should wardrobe lights be on a switch or automatic?
Automatic. Magnetic door contacts on each shutter with a 0.3-second fade up and a 1.5–2 second fade down, an occupancy sensor with a two to three minute timeout inside a walk-in, a 10–15% night tier at 2200K–2700K, and a safety cut-off so nothing is left burning inside a closed wardrobe. The keypad outside is the override, not the primary way in.